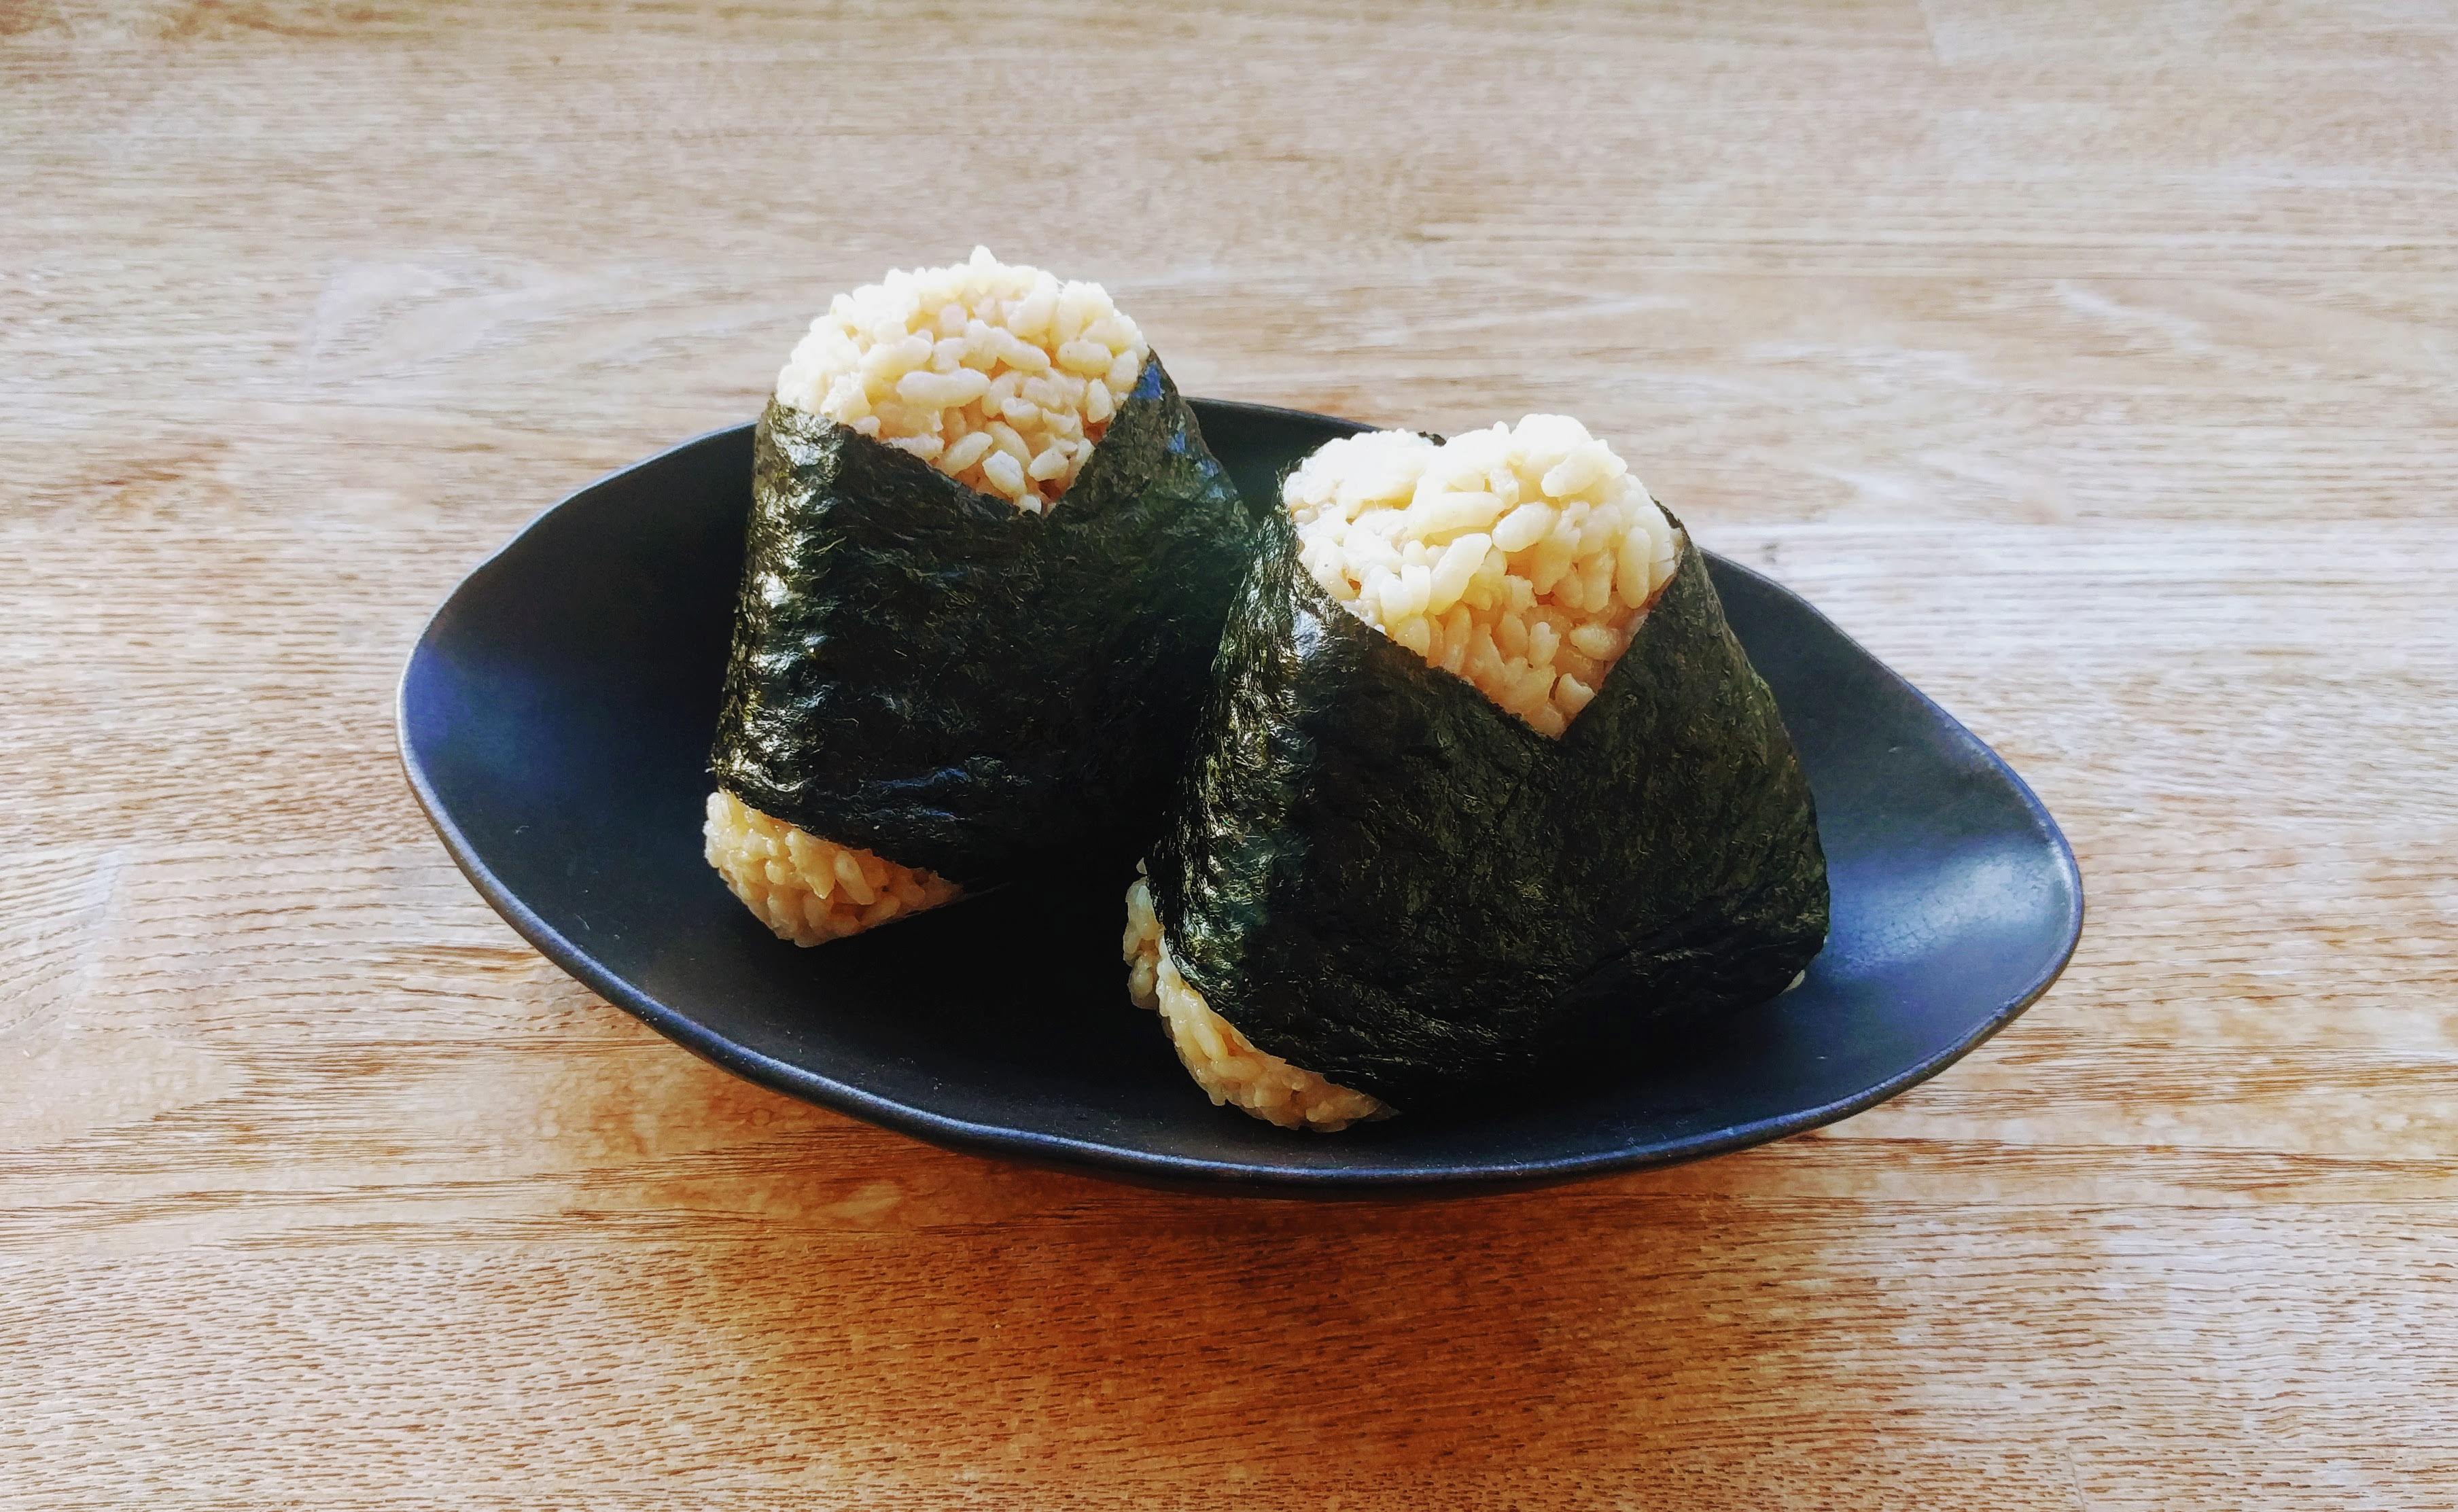
Following my promise to publish a recipe inspired by Japanese cuisine every month, today I have decided to present my recipe for brown rice onigiri.
Onigiri is one of the best-known Japanese dishes in the world; they are triangularly shaped rice balls that can be filled with many different things, often wrapped in nori seaweed. My version of the onigiri is with brown rice instead of white.
The filling of the onigiri can vary a lot, from the most classic with salmon or umeboshi (salty Japanese plums) to the newest with tuna and mayonnaise, so let’s go to use our fantasy with fillings 😉


Brown Rice Onigiri
Print This
Ingredients
- 2/3 cup of whole-grain Japanese rice (uruchimai) *
- 1 1/3 cup of water
- 1 pinch of sea salt or pink
- 2 - 4 sheets of nori seaweed (F4)
- Stuffed tuna and ginger (F1):
- 1 can of tuna (packed in water)
- 1 piece of 2cm fresh ginger
- 1 tablespoon of tamari sauce
- Stuffing salmon and chives (F4):
- 50 gr of fresh salmon
- 1/2 spring onion
- 1 teaspoon of sesame oil
- 1 teaspoon raw sesame seeds (optional)
- Sea salt or pink
Instructions
- Put in a tall pot, rice, water, and salt, cover the pot and bring to a boil over high heat.
- When the rice water starts to boil, lower the heat and let it boil covered, for about 40 minutes.
- Meanwhile, prepare the filling you have chosen for your onigiri.
- For stuffing tuna and ginger (F1): Drain the tuna entirely and put it in a bowl; Grate the fresh ginger over the tuna and spread the tamari sauce little by little, it should not remain liquid in the filling.
- For the stuffing of salmon and spring onion (F4): cut the salmon into cubes and finely chop the chives; in a small pan, put the sesame oil and sauté the onion and salmon a few minutes; add salt and add the sesame seeds (optional); let it cool.
- When the rice has absorbed all the water and is perfectly cooked, let it cool.
- With slightly wet hands, take a handful of rice and shape it into a ball, with one finger, make a hole in the center and place part of the chosen filling, cover the hole with a little more filling and give the onigiris the typical Triangular shape.
- [Optional] With hands completely dry, cut a strip of nori seaweed of the appropriate dimension to wrap the onigiri. Put the onigiri in the center of the strip and wrap it. Lightly wet the ends of the alga so that it sticks better.
- You get about 4 large onigiri or 6 smaller ones.
This recipe is suitable for Phase1 (tuna filling) and Phase 4 – FMD P1 and P4. With these quantities, you get 2 servings of grains for Phase 1 with a little protein for <20 pounds.
Notes
*For this recipe, it is important to use short grain rice, the ideal is Japanese rice. You can find it in the section of oriental products of many supermarkets, look for sushi and whole. Long-grain rice, such as basmati and wild rice, do not work for this recipe. - WARNING FOR CELIAC: always check that the products that you use are certified without gluten, for who has doubts in this respect can be informed in the following link: https://bit.ly/GlutenFreeSymbol