The post Chia Yogurt Pudding – Healthy and Creamy Breakfast or Dessert (FMD Phase 3) appeared first on Cooking with a Cat.
]]>Breakfast is one of my favorite moments of the day. I love taking a few extra minutes to prepare something delicious, healthy, and nourishing. Today, I want to share with you this easy and creamy chia yogurt pudding recipe — perfect for those days when you need something quick and satisfying that works equally well as a breakfast or a refreshing dessert.
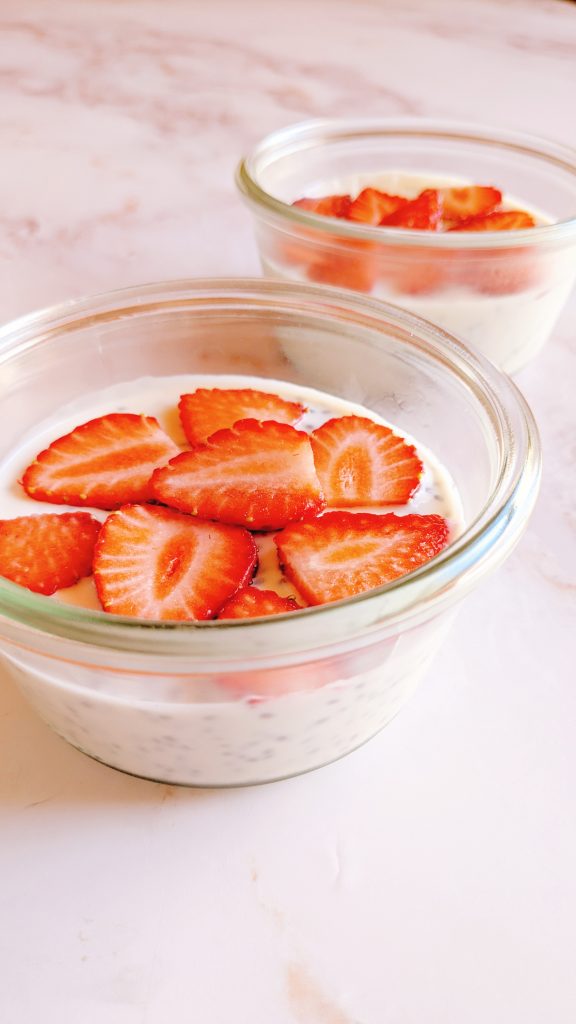
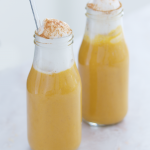
I love storing this pudding in Weck glass jars because they keep it fresh in the fridge, thanks to their airtight seal — super convenient and eco-friendly too!
Customize Your Chia Pudding with DMA Phase 3 Toppings
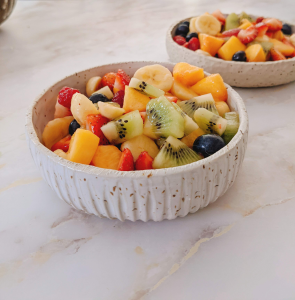
One of the things I enjoy the most is customizing my chia pudding with seasonal toppings. Fresh fruit is always a great choice, but if you’re following the Fast Metabolism Diet (FMD), be sure to choose fruits that are allowed in the correct phase.
For this pudding, which is fully compatible with Phase 3 of the FMD, here are some delicious topping options:
-
Blueberries
-
Raspberries
-
Blackberries
-
Peaches
-
Cherries
-
Loquats
Always refer to the complete food list for each phase in the DMA Masterfood Guide to stay on track and maximize your results.
Watch the Video:
Ver esta publicación en Instagram

Pudding de yogur y chía
Print This
Ingredients
- ¼ cup plain coconut yogurt
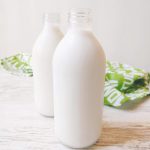
- 1 cup coconut milk
- 2 tbsp chia seeds
- 2 cups Phase 3-approved fresh fruit (for topping)
Instructions
-
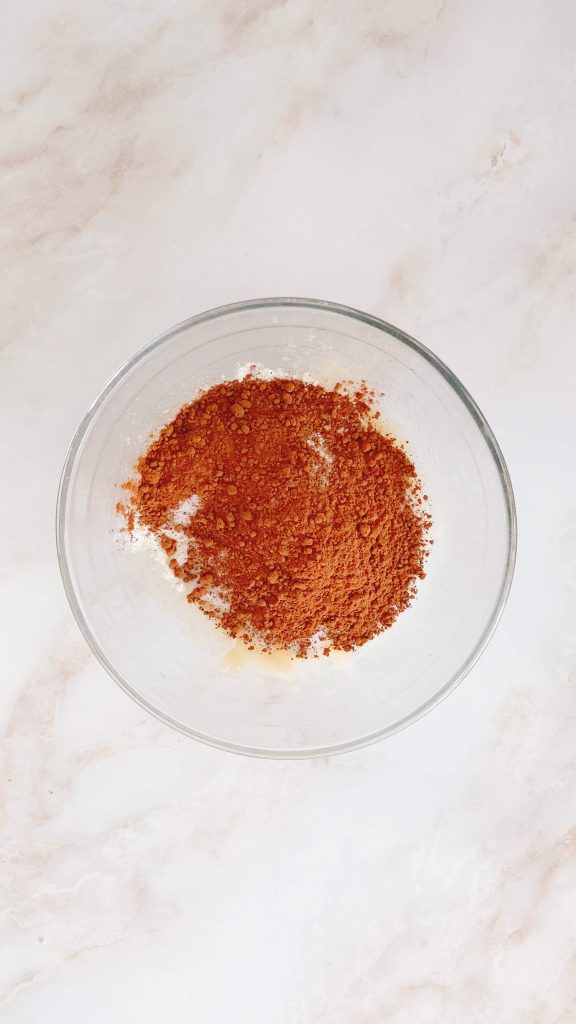
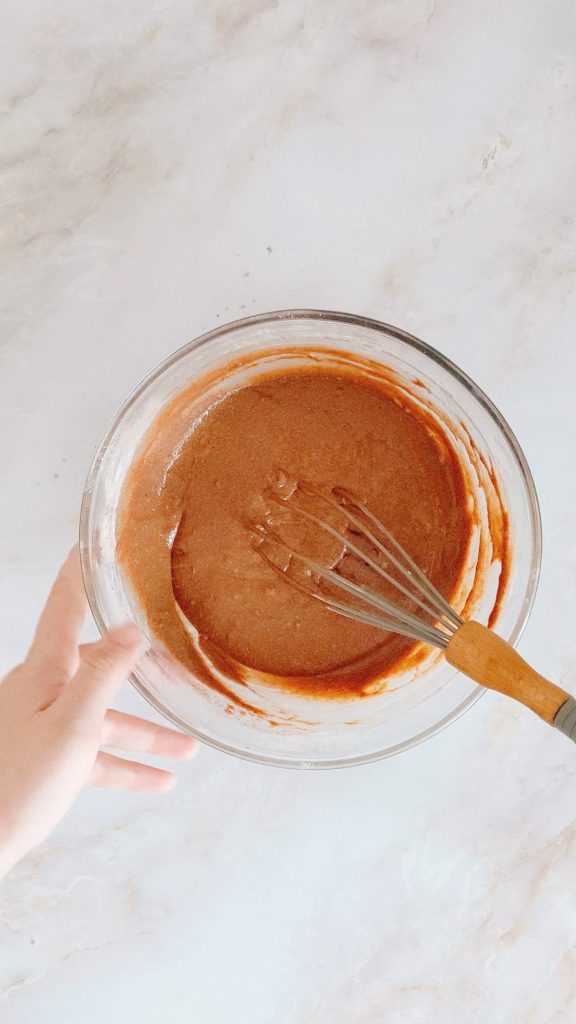
In a bowl, mix the coconut yogurt with the coconut milk until smooth and well combined.
-
Add the chia seeds and stir them thoroughly to prevent clumping.
-
Divide the mixture into two individual jars (I use Weck jars) and refrigerate for at least 2 hours or overnight, until it has thickened.
-
Just before serving, top with fresh fruit. You can choose one fruit or create a colorful mix.
This recipe is fully compatible with the Fast Metabolism Diet – Phase 3. These quantities make 2 servings of healthy fats and fruit for <10 pounds.
I hope you enjoy this recipe as much as I do! If you try it, tag me in your photos on Instagram or Facebook — I love seeing your delicious creations 
Big hug,
Eloisa ❤
The post Chia Yogurt Pudding – Healthy and Creamy Breakfast or Dessert (FMD Phase 3) appeared first on Cooking with a Cat.
]]> Want a creamy extra? Serve it with coconut whipped cream
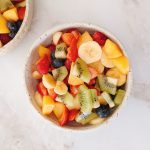

 You can find the full
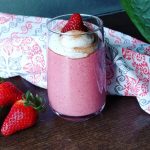


![Oven-roasted Escalivada [pepper, eggplant, onion]](https://www.ungatoenlacocina.com/wp-content/uploads/2021/10/2021-09-12-17-29-24-375-150x150.jpg)